Showing posts with label Hair. Show all posts

Wednesday, 11 December 2013

Faux French Braid

Since our topsy tail arrived we've been experimenting with different hair styles. Today we did something that's similar to a French braid. If you can't do a French braid you can surely do this. ☺

I started with a small ponytail at the side of my daughter's head...

which I then did a pull-through in using the topsy tail tool.
I made another ponytail gathering in the hair from the first one and pulled it through.

I continued doing this step until I had gone all the way around her head.


For playing you could totally leave it like that, or if you wanted to be a little fancier you could add something. We added some tiny clips that we like to scatter through our French braids when we want to fancy them up. You could also add a big bow or flower at the last elastic.


So, is this something you could do for a faux French braid?


Wednesday, 27 November 2013

Using a Topsy Tail


The girls and I had a special package in the mail this week. We ordered a topsy tail tool for doing different hairstyles. I could kind of do it with my fingers, but it hurt and didn't look super smooth. I remember when the topsy tail tool came out I thought about getting one. I had to wait about twenty years until I had a couple of girly-girl daughters who liked fancy hairstyles.

We've been having fun trying it out, and I wanted to encourage you if you have a daughter you might enjoy one of these tools.


So here's what we did tonight. The idea came from here. I didn't exactly follow the pattern.


 Basically this tool allows you to pull a ponytail through itself.
 
First I finished it off with a rope braid, but my daughters didn't like the way that looked so we took it out.

What do you think? Have you ever used a topsy tail tool?


Tuesday, 19 November 2013

Zigzag Part


Another simple tip today. Sometimes either you or your daughter want fast and simple like two ponytails. They're cute, but for just a couple extra minutes you can dress them up a little by using a zigzag part.
 
I start with damp hair because that makes the part easier to do and nicer to look at. Start above one eyebrow (I started above my daughter's left eye.) and make a diagonal part.


Now start above the opposite eyebrow and do a diagonal part going the other direction.


Now go back to the other side and do another part parallel to the first part.


Continue this way as far as you want. I usually switch to a straight part when I get to the back of my daughter's head. Her hair wasn't quite damp enough at the back here so the part doesn't look straight since the hair kind of sags. Just put your ponytails in like normal, but doesn't that part jazz it up a little?


Do you have a favourite quick tip for making a simple hairstyle look more special?


Wednesday, 30 October 2013

A Wraparound Braid


Today we want to show you one of our easiest, most versatile hair styles. We call this a wraparound braid because it's a French braid that we wrap around the head instead of going down the middle. I actually do Dutch braids which are the opposite of French braids. Instead of moving the strands over each other you move them under. It took me a little practice to get used to, but now I do it this way exclusively. I love the way it makes the braid stand out from the head.

Start your braid - French or Dutch - with a small bit of hair on one side of the head.


Continue around the side and across the back.


You can end it by braiding all the way down or...


making a ponytail.


This side of the head is smooth.


You can also pick up hair only with your bottom strand which makes the top part of the braid stand out more.


You can braid the other side and join the two braids into one.


As you can see this style is very versatile and easy if you know how to do a French/Dutch braid. It really is a skill worth learning because it opens up so many more hairstyles.

What is your go-to hairstyle for yourself or your daughter? We always enjoy trying something new. ☺


Tuesday, 24 September 2013

Triple Twist Bun


My girls love to have their hair up in a bun for church, but I get a little tired of that. I'm always looking for ways to switch it but keep it simple. This hairstyle is a variation of one I saw on the internet.
 
To start with separate the hair into three even sections.


I start with the middle section and start twisting it. Keep twisting until it starts to twist up on itself and you can pin it in place.


Do the side pieces in the same manner.


It usually takes a couple of minutes longer to do these three small buns as opposed to one, but the result is much more dramatic and elegant. This would look pretty with a couple of small flowers or a row of baby breaths along the top edge. Or just leave it "undressed". It's still pretty.


Do you have a favourite quick but elegant hairstyle?

Wednesday, 11 September 2013

Star Braid

 
This is one of our favourite hairstyles because you can dress it up or keep it simple.  It's called  a star braid because it makes a star pattern. I learned it from a hair blog that no longer exists.
 
I've found the parts on this style work best if the hair is slightly damp to start with. You will need eight elastics. Sometimes we do all the same colour. Sometimes we use two colours or four or eight. It's part of the fun - choosing the colours. To start part the hair down the centre and then find a middle point where all your other parts will come out from.

From the middle point make a diagonal part to the front of the head and put the hair in an elastic. Do the same on the other side.


Now make another part from your middle point to just behind the ears on either side adding the hair from your first set of elastics into the second set. My biggest struggle is always to get the elastics even. I don't always get it very well.


Divide the hair that is left in half with a diagonal part. Again add the hair from your last elastic into this elastic on either side.


Add the final amount of hair into elastics on either side of your main part.


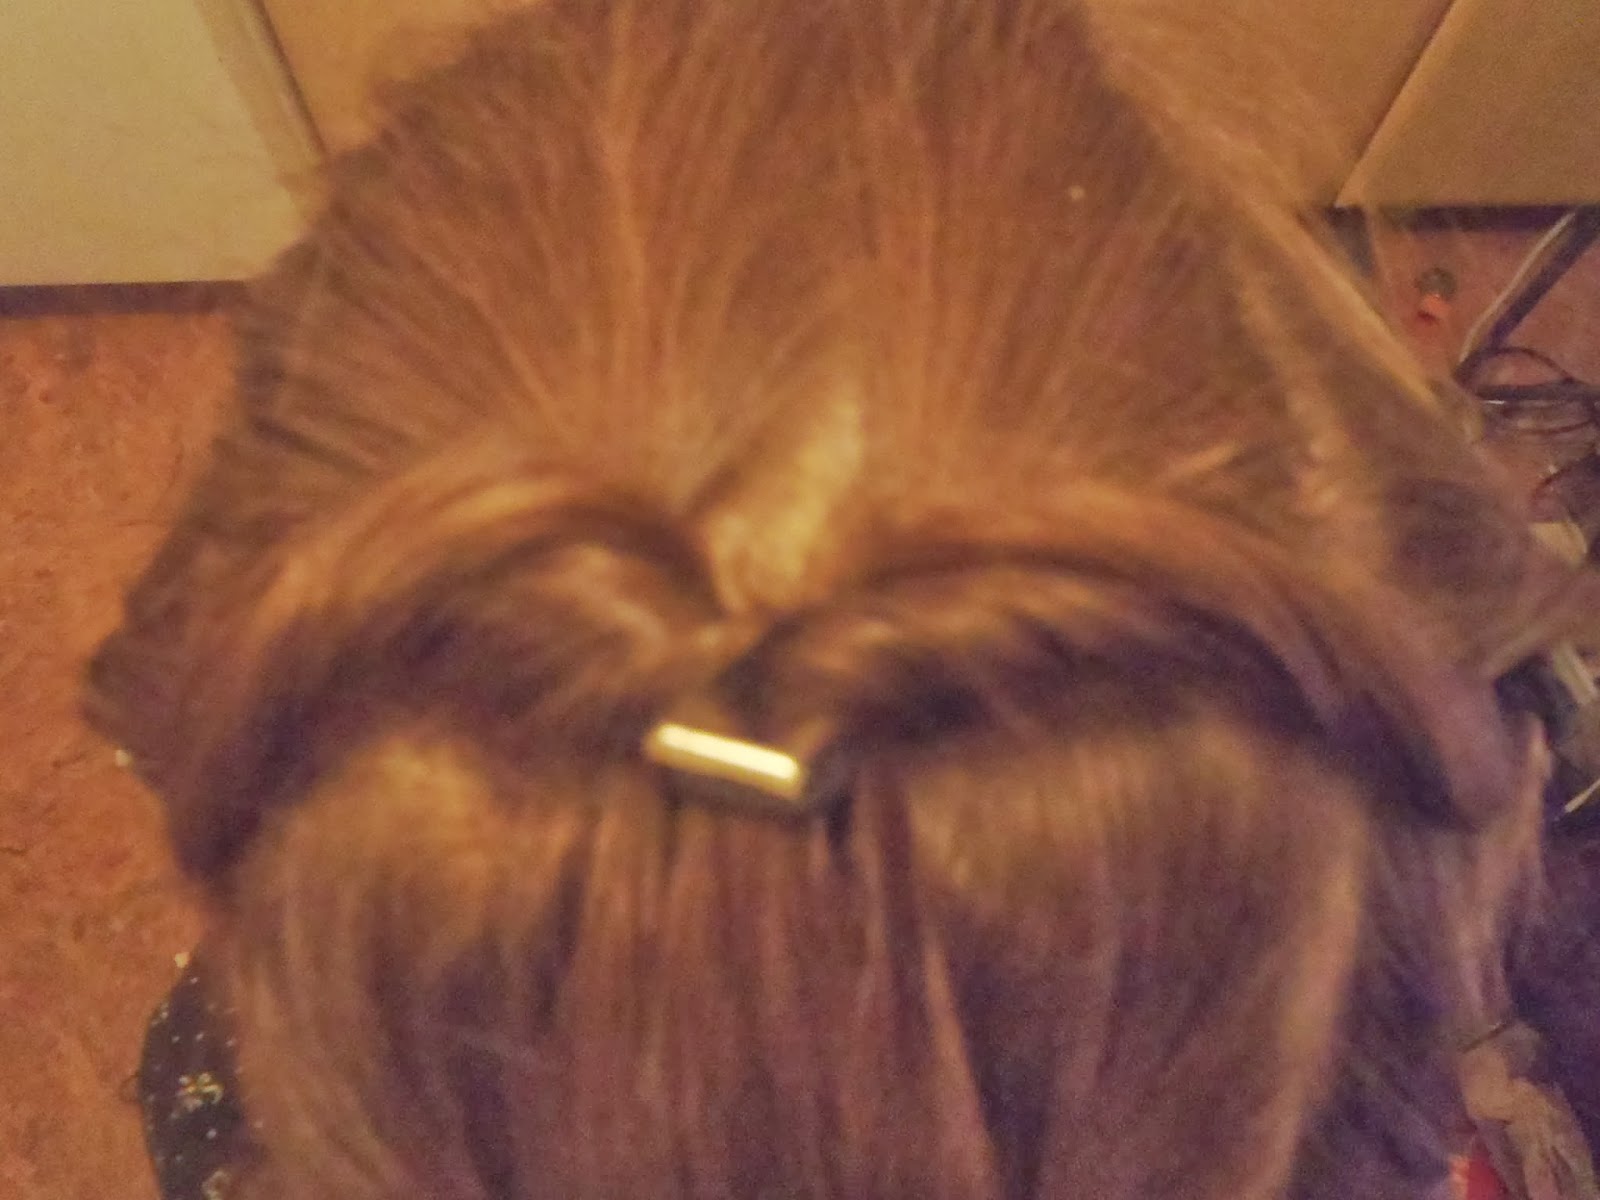
Can you see the star?


Her hair has grown so much since we started doing this braid about four years ago. Sometimes we put bows at the top of the ponytails.


You could also take a little hair from each ponytail and put them together to make a third strand so you can make a braid.


Four years ago when she was starting kindergarten she opted for all different colours.


Sometimes the elastics stay in well enough that this hairstyle lasts for two days. That's a bonus when you're a busy momma.

Do you have a go-to hairstyle that is simple but can also be dressed up?

Tuesday, 27 August 2013

Hair's To You


So I mentioned a couple of days ago that a my daughters and I wanted to start doing some posts on how we do our hair around here. We've had lots of fun following hair blogs and trying out new styles over the past few years.
 
Here are our two favourite blogs for hair:
 
 
If you have a favourite style put a picture of it on our Facebook page. We would love to see what you do. Or if you want us to try something let us know that too.
 
Something to whet your appetite.


So, what is your favourite hairstyle?